How to Build a Cheap Power Distribution Block, Fast and Easy
Add a non-Conductive Cover for use in Mobile Applications where you can't guarantee
integrity of the block.
What do you need?
1) A Non-Conductive block of something. (wood works fine)
2) Two metal Flat Bars or a strip of something conductive
3) A sheet of Non-Conductive Cover sheet to cover the Block if you plan to mount
it mobile.
4) A few Screws to go through your ring terminal.
Here you go:

First, you need a Non-Conductive Block of wood or Synthetic material. This
is a 5/4 x 6" Treated Deck Board split into two pieces.
Take the board, decide the length, and split it into two pieces. These turned
out to be 2-3/4" each piece. I made them 10" long. Cut and Round the
edges smoothe.

Cut and round the edges on your two metal bars or conductive pieces of whatever
you dream up. The wooden board will hold the wood screws to hold the ring terminals
to to metal.
These happen to be the cut ends off of a filing cabinet file holder rack. I
knew they would come in handy one day.

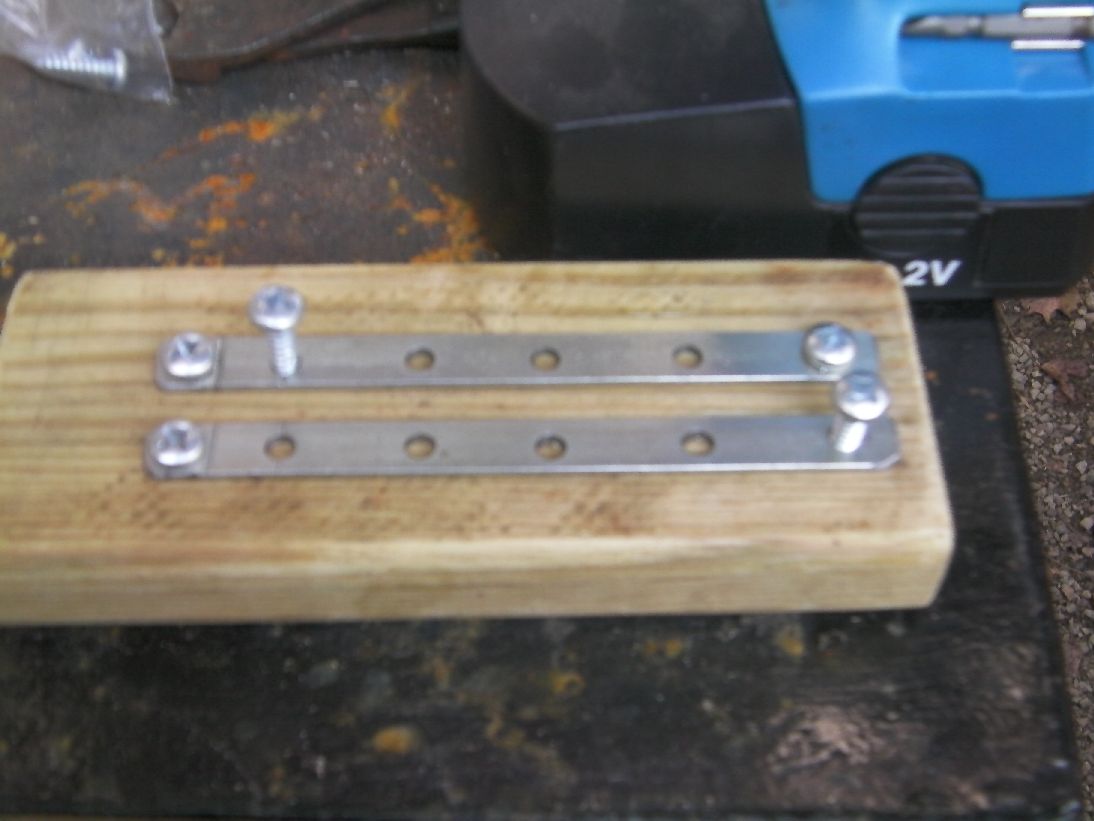
Mark and Drill your holes. I used 1" spacing. This works fine. For just
a few connections, you can space them further apart, or make the board shorter.
I have one of these in the shack. It is much larger. Drill through the bars
only, not the wood you will put it on.

Best bet for drilling the holes is to drill the holes about 2 sizes smaller
than the screws. This keeps a good strong screw hold, and releases some of the
pressure that might split the wood, if the screws are too close together. Your
best bet is to use a piece of wood that still has moisture in it. A fresh treated
board from the lumber yard. They usually have plenty of moisture in them, and
won't split.
You could also use a wider piece of metal, and alternate the holes in an offset
pattern so the holes are not close together. I have had this board dry for quite
some time in my shed, and I did not predrill the holes. When I put it together,
it started to split. I removed the second set of screws and released the tension.
After it sets a bit, it will not crack further.. I could make a second one,
but, I am leaving on a trip in the morning, and wanted to add a 2 meter rig
to the truck that has a 160-6m rig in it now with a screw driver antenna. I
have another Ham riding with me, but she only has Tech Priveledges, and it looks
like 10m and 6m are not going to be open for a few days. On with the build.

The screws I had were either too big, or too small, and I am 20 minutes one
way from town. I still have the ziplock with one of the screws that I need when
I last did a project that used them all. Ha.. Ha..
Don't get to town much.. You can see from the head of the Phillips they are
larger than the typical #2 phillips. Now you can see why the board started to
split finally. I had already checked to be sure I had ring terminals of the
proper size before I started with these screws. I have everything I need for
a thousand projects, but the exact size screws that I used on the last job..
Ha.. Shame on me.
You should use smaller wood screws. Not way smaller, just smaller than these
on steroids.
This is gouing in my Truck, behind the seat.. Probably not going to be a problem,
but, to be safe, lets cover it with some rubber sheeting.. I used Hypalon white
water raft repair material from my business.

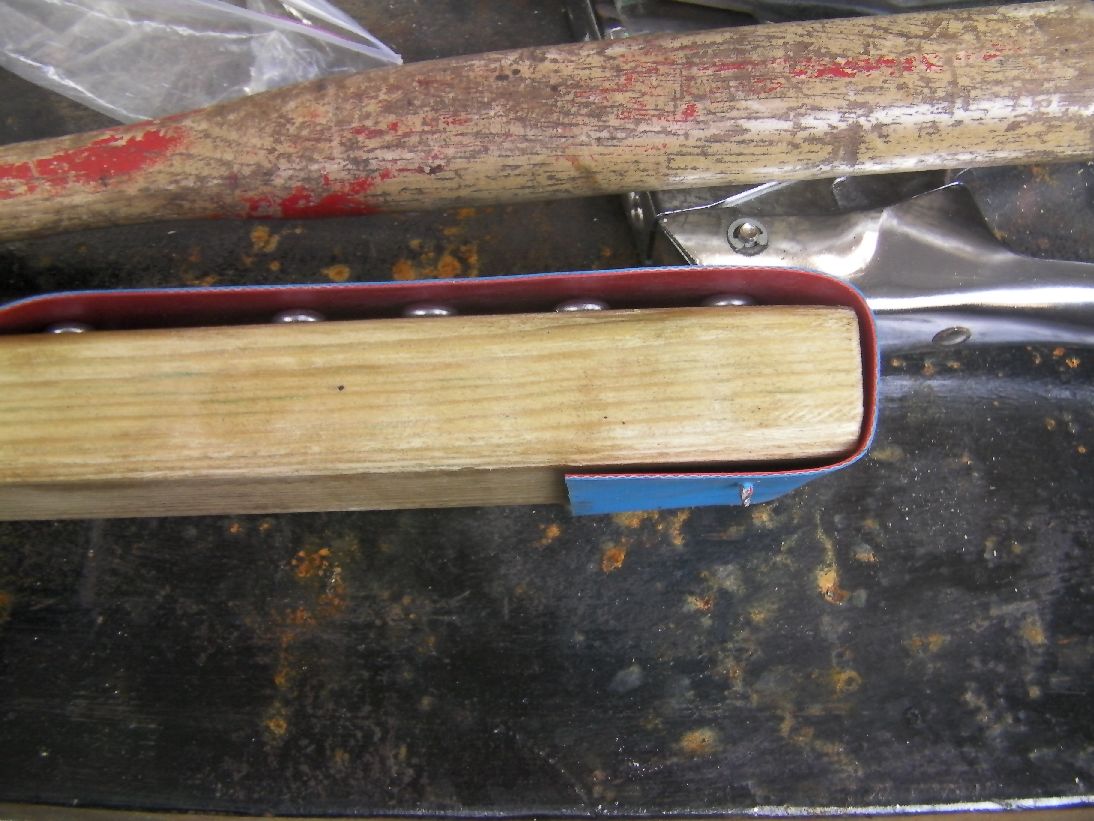
I used a simple heavy duty stapler to staple the fabric to the ends, folded
it over, stapled it to the top, and let it flap over the other end. To secure
the other end, and still be able to remove and reinstall the cover, I just used
a simple panelling nail, drove it in about 3/4 way through the board and nipped
it off at an angle. Then used a flat file to sharpen the side closest to the
end to hold it steady. The panelling nails have ridges, so they hold the material
nicely. I left about 3/16 sticking out of the hole to catch the material. The
nail slightly grips the carpet to keep it in place behind the seat of the truck.
You can see a picture from the side showing the screws on one side and the nail
on the other. I am sure this is going to work just fine.

At the bottom, you can see the sharpened stud to hold the rubber sheet over
the terminals. You can stretch the Hypalon rubber material to hit the same hole
each time you change the wiring. I used Male/Female butt connectors to be able
to install/remove the units when not in use. I will leave the 2m rig in the
truck all of the time, but move the HF rig in and out of the house when I am
not traveling for a while.
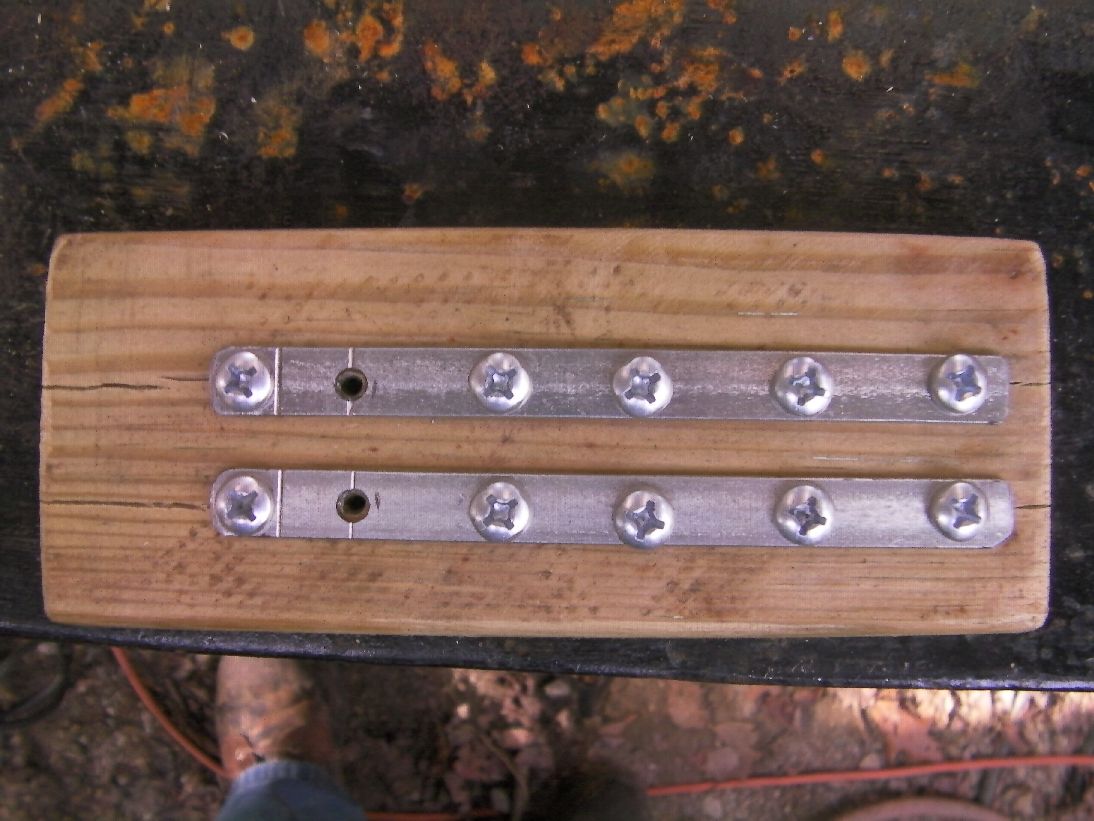
I oopsed something Maybe you already noticed. Lets take a quick look. I didn't
notice it until I blew a fuse on the ground side of the 12v hookup to the 2m
radio.

The last set of wires to the right were for the 2M rig. Don't know where my
head was.. I think I was on the phone when I screwed these down. I had the +/-
reversed.. I didn't even see it when I removed the cover. Ha.. Had to hook up
a meter to see what I had done.. Oh well.. Can't win them all. I never figured
I would make such a simple mistake. Anyway,,

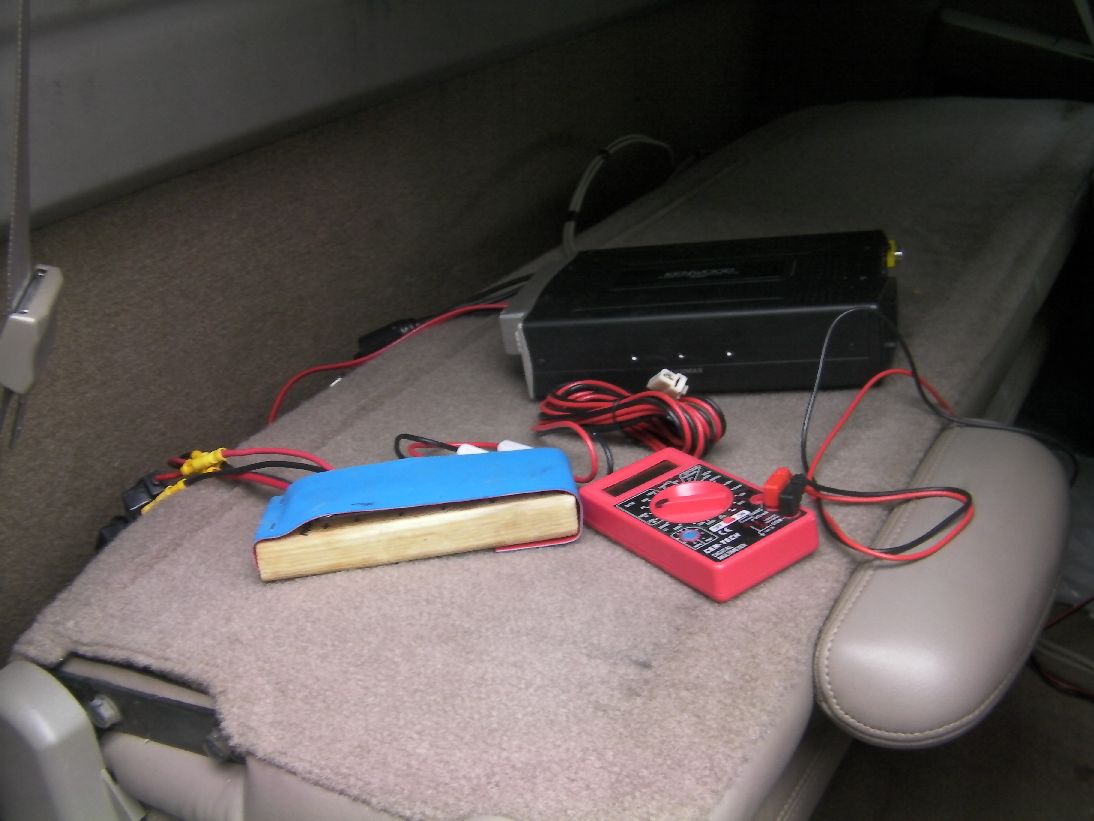
Here it is.. Ready to go behind the seat and power up. I was just hooking this
up for the trip (11 hours to Pensylvania), but, it works so well, and I had
a second VHF 2M rig, so I left it in the truck. I used a Larson NMO-150B Mag
mount antenna for the temp install. It was one I had on the tin roof for the
business band repeater at my business. It is off season now, so I changed the
whip, tuned it for the Ham bands, and away we go. I was really surprised.. The
Mag Mount antenna works almost as well as the dual band Jpole I build for the
shack. The extended cab roof has a pretty nice sized ground plane to work off
of.
Here is the SWR Chart for the Antenna
Tuned for the Ham Bands:
These things are pretty expensive when you buy them from a Radio Shop. This
is definitely one of those things that you need to build for yourself.
This one cost me a few screws. I had everything else on hand.
I prefer to keep my radio stuff out of sight, out of mind.
When I stay in a hotel, or somewhere where I think theft might be a problem,
I remove the radio head ( A RJ-45 Cable and RJ-12 Cable quick disconnects),
and the 2M radio (unhook the 12v plug, unscrew the PL-259, and loosen 4 screws
and pull the radio out. I keep a foldable canvas bag behind the seat with a
felt bag in it. I just slip the HF head in the bag, sit the 2m beside it, and
toss the rest of my things from the truck into it and walk into the Hotel room
with it. If the truck is not secure, I loosen two bolts, pull apart the Anderson
Power Pole connector and unscrew the PL-259 connector from the Female to Female
SO-239 connector, flip off the Whip with the Hustler QD-2 Quick Disconnect,
lay it in the back of the truck, and then pull the antenna and mount, and lay
it in the back of the truck.
I keep an old towel type rag in the back of the truck. I throw it over the screwdriver
and lock the truck as normal. Out of site, out of mind.
As far as the wires and PL-259 connector, look at the Screwdriver
mount page for a solution to (Out of Sight/Out of Mind) on that one.


